“Dad, can you help me with this part?” My 6-year-old daughter, Hailey, was uncertain of our next steps.
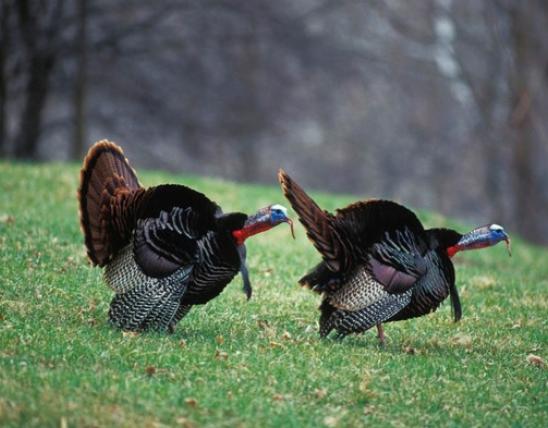
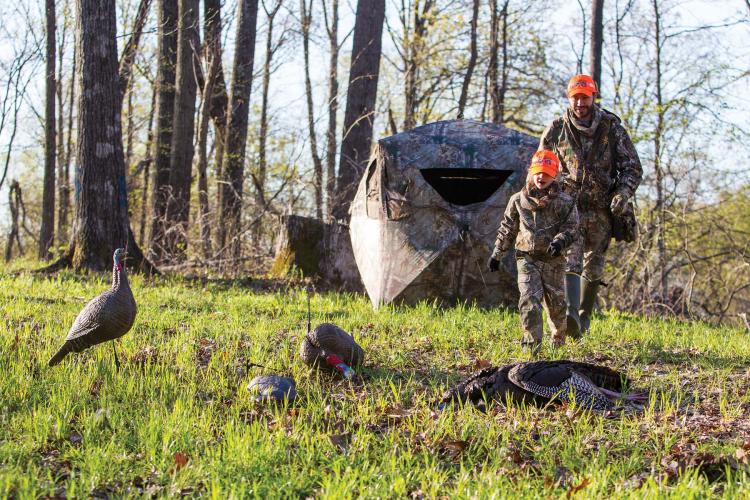
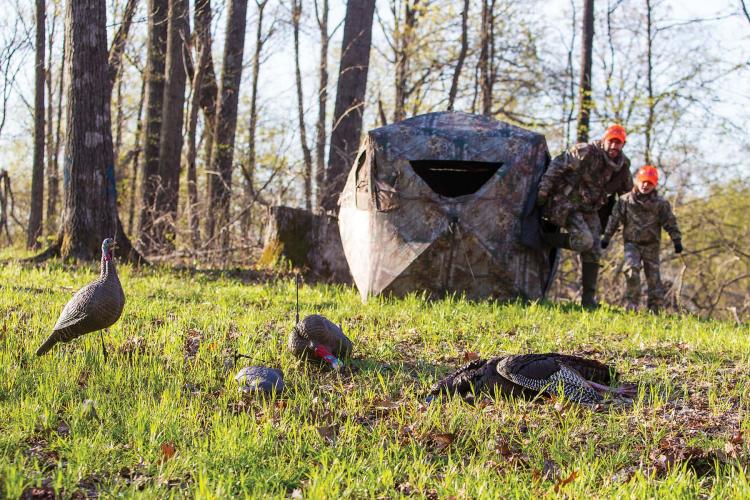
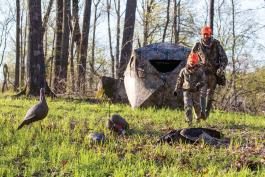
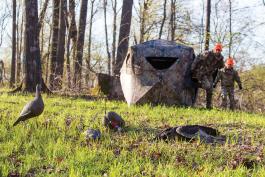
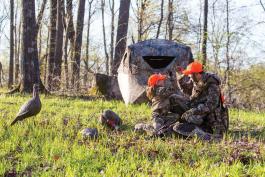
Moments earlier, working together, we had coaxed two adult toms into our decoys. They absolutely read the script: gobbling, strutting, and displaying to within less than 10 yards of our blind. Following a short fight with our fake jake, one of the gobblers offered Hailey a safe and ethical shot — her first turkey. The gobbler expired quickly, making a follow-up shot unnecessary.
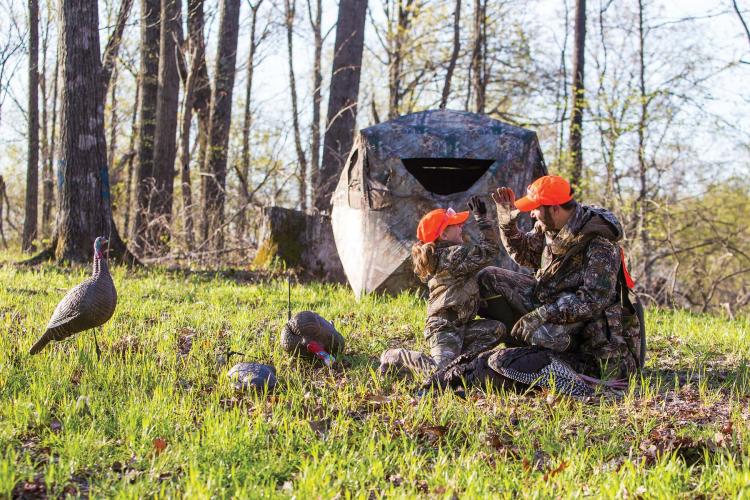
After unloading her shotgun with the muzzle pointed in a safe direction, we traded high-fives and hugs. Now she wanted to know if I had a plan to transform the 23-pound gobbler lying on the ground into a meal fit for a plate.
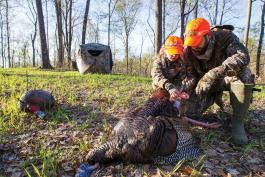
We approached the tom, and I began explaining the post-shot plan.
Stay Safe and Alert
Excitement and adrenaline peak when we take a shot at a turkey. I explained to Hailey that it is important to harness the excitement and ensure the next steps after the shot are carefully thought out.
Focus on firearm safety. Always keep the muzzle of your firearm pointed in a safe direction. Maintain control of the firearm the entire time and make sure the safety is reengaged after the shot. Depending on your shotgun action type, be aware of another shell sliding into the chamber — particularly for semi-automatic shotguns.
Prepare for a follow-up shot. In most cases, you won’t need a follow-up shot, but you will want to be prepared for one, just in case. It is our responsibility as hunters to ensure shots are ethical and allow for a clean harvest.
After you take the initial shot, watch the turkey’s reaction. If the bird takes off running or flying and you are positive you hit the gobbler with the first shot, shoot again to dispatch it.
After the shot, Hailey looked back at me with excitement and curiosity, “Did I get it? I got it, right?!” Hailey had shot the bird exactly in the place we had practiced prior to season — the red wattles at the junction of the head and neck — and the gobbler was dead.
Approach your bird carefully. After you have determined the bird appears to be dead, you can begin your approach to the gobbler. Walk to the bird and keep firearm safety in mind. At this point, you will still need to be prepared for a follow-up shot. Once you are confident the gobbler is dead, unload your firearm. Before touching the turkey, be prepared for the carcass to flop, sometimes aggressively.
As I expected, Hailey’s gobbler began flopping, which lead to a bit of confusion. “If the gobbler is dead, why is it moving?” I explained to Hailey that turkeys often flop after being shot even though the bird is actually dead. I cautioned her to watch out specifically for the tom’s spurs, which can result in cut hands or legs if you aren’t careful.
Follow the Regulations
I reminded Hailey that, similar to hunting other game such as deer, there are rules and regulations to follow when turkey hunting. We had covered the majority of these before turkey season began. Consult the most current turkey regulations at short.mdc.mo.gov/Z35 for details. In particular, pay close attention to the tagging and checking procedures.
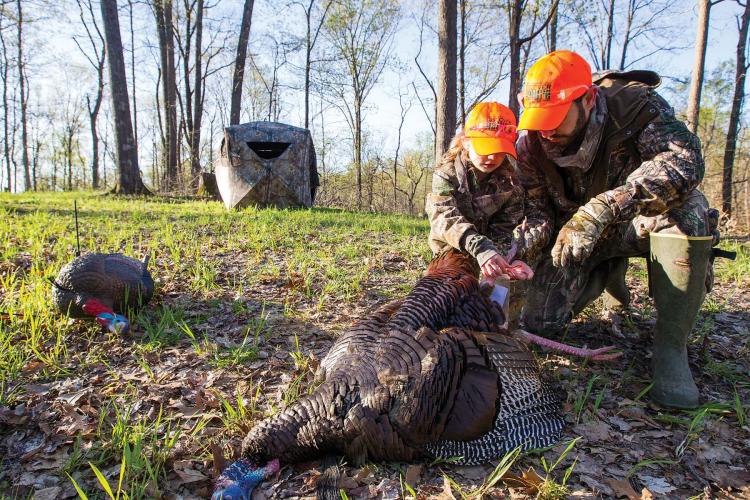
Notch it. Once you have determined the bird is dead, it is now time to notch your permit. If you have a paper permit, as in Hailey’s case, it will be marked with months on the side and days on the top. Make a small notch by tearing the paper or using a knife or something similar to clearly show you have notched the permit for the month and day of your harvest. If you don’t have the permit printed, you can virtually notch your permit by using MDC’s MO Hunting App. Once your permit has been notched, you can officially transport your gobbler from the place of harvest.
Tag it if you leave it. If you will not be in the immediate presence of your turkey at any time before Telechecking it, you will need to attach the notched permit to the bird. Put the notched permit inside of a sealable plastic bag and attach it to the bird’s leg using zip ties, wire, or rope. If you’re using the MO Hunting App, and you leave the bird, you must attach a label with your full name, address, permit number, and date of harvest to the turkey’s leg.
Check it. All harvested turkeys are required to be Telechecked by 10 p.m. on the day of the harvest. You can complete the Telecheck process over the phone, on the internet, or even through the MO Hunting App. Hailey notched her permit, placed it on the gobbler’s leg, and helped me with the Telecheck phone call. If you’re using a paper permit, make sure to write the confirmation number on the permit in the space provided. On the app, the confirmation number will be automatically uploaded to your account when the Telecheck process is complete (this may take up to 20 minutes).
Preserve Memories of the Hunt
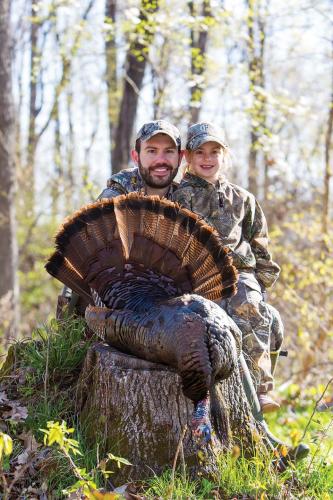
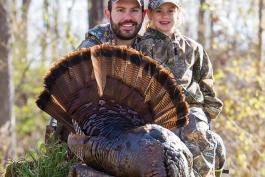
Two of the best ways to commemorate your wild turkey harvest are through photography and taxidermy. We took a number of photos of Hailey with her gobbler, and we later used one of them in her First Turkey Certificate.
“Should we get a full-body mount of your first turkey?” I asked after our photo session.
“Yes!” she said.
If you are having a full body mount done, as in Hailey’s case, the taxidermist will skin the bird and provide you with the meat. This will ensure the feathers remain in quality condition for a mount.
If you’re not having a full body mount done, consider saving the beard, spurs, and tail fan as mementos.
Bag Your Bird for Safe Transport
Getting a turkey home can prove a bit of a challenge, especially if you are a long distance from your vehicle.
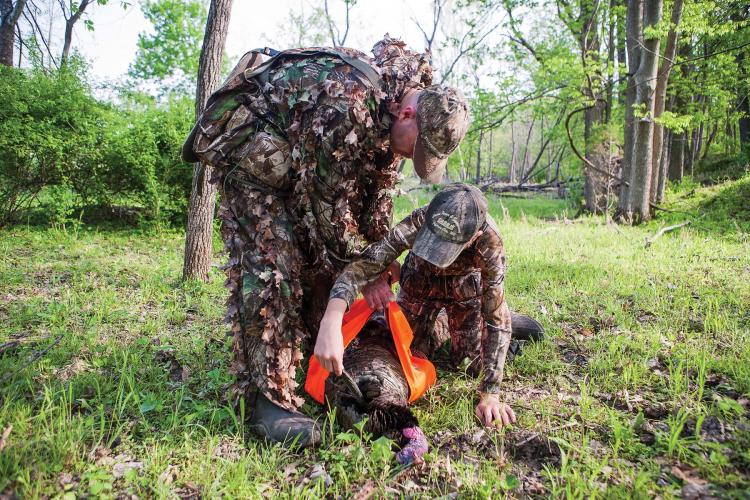
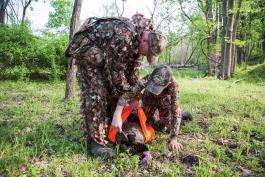
Large, hunter-orange game bags or vests specifically made for carrying wild turkeys can make the task easier and safer.
In addition, always wear a hunter orange cap and vest when carrying your harvested bird to your vehicle.
Using hunter orange can help you avoid being mistaken for game by other hunters.
My turkey-hunting vest worked great to carry Hailey’s gobbler back to the truck. Because we had settled on a full-body mount, we were extra careful with the feathers when we loaded her bird into an orange game bag and then placed the bundle in the back portion of my vest.
Prepare Your Turkey for the Table
Although the taxidermist took care of cleaning Hailey’s first turkey, this won’t always be the case. On a future hunt, we will practice cleaning her harvest. Since wild turkeys have over 5,000 feathers, skinning is definitely our method of choice.
Make a Meal
Once the turkey is cleaned, you’re ready to cook. Many recipes that work for domestic turkey and chicken, particularly the breasts, will work for wild turkeys.
With Hailey actively participating in the post-shot process, her anxiety quickly turned to curiosity. We successfully called in a tom, made a clean and ethical harvest, and prepared the bird for mounting as well as for the table. Her after-the-harvest work paid off with a tasty wild turkey meal shared with family and friends.
First Turkey Certificate
To create Hailey’s First Turkey Certification, we downloaded MDC’s customizable form at short.mdc.mo.gov/Z3S.
Free MO Hunting App
Use your smartphone to purchase, view, and store annual hunting permits.
You can even use it to notch your permit and Telecheck your harvest directly from your permit within the application. Get it in Android or iPhone platforms at short.mdc.mo.gov/ZoQ.
Clean the Bird
- Clean the turkey as soon as possible after harvesting, keeping the meat clean and cool. Lay the gobbler on its back. Find the top of the breast bone, or keel, and make a small incision. Grab the skin on the bird near the incision and pull it off both breasts.
- Run your knife along the keel on each side to remove both breasts.
- Continue to pull the skin until the thigh meat is exposed. Cut the entire leg/thigh from the bird at the bone socket.
- Remove the remaining skin on the leg and thigh. Repeat process for other leg and thigh.
- Properly dispose of the remaining carcass, entrails, and feathers.
- If not cooking immediately, freeze the meal-sized portions in freezer safe bags. If you’d rather pluck your bird, proceed as you would for plucking chickens.
Wild Turkey Legs Three Ways
Many people save only the breast from wild turkeys, but the legs and thighs are delicious, too. Following a simple crock pot preparation, here are three ways to prepare wild turkey legs and thighs.
Base Preparation
Split the leg from each thigh and place them on the bottom of the crockpot. Cover the legs and thighs with 28 ounces cream of chicken soup and 28 ounces of milk. Add water until all of the meat is covered. Cook on high for 8 hours or until meat is tender and pulls easily from bones and tendons. Remove meat, cool, and pull all bones and tendons from leg and thigh meat.
Chunk up the meat and prepare one of the following ways.
Turkey Noodle Soup
Cook 1 cup of chopped carrots, ½ cup of diced onion, and 2 cloves of finely chopped garlic in 1 tablespoon of olive oil for 5 minutes, stirring occasionally. Mix in 2 cups of wild turkey leg and thigh meat, 2 cups of uncooked egg noodles, 5¼ cups of chicken broth, ¼ teaspoon pepper, 1 tablespoon parsley, and 1 dried bay leaf.
Turkey Legs and Gravy
Serve the leg and thigh meat with brown gravy, mashed potatoes, and a vegetable.
Barbecued Turkey and Cheese Sandwiches
Shred leg and thigh meat and mix with your favorite barbecue sauce. Place the meat on bread slices with a layer of pimento cheese spread. Butter the bread and grill the sandwiches until golden brown on both sides.
For more wild turkey recipes, visit short.mdc.mo.gov/Z3q.


Also In This Issue

And More...
This Issue's Staff
Art Director - Cliff White
Associate Editor - Bonnie Chasteen
Staff Writer - Heather Feeler
Staff Writer - Kristie Hilgedick
Staff Writer - Joe Jerek
Photographer - Noppadol Paothong
Photographer - David Stonner
Designer - Les Fortenberry
Designer - Marci Porter
Designer - Stephanie Thurber
Circulation - Laura Scheuler

