

Our ancestors harvested deer and other animals for uses far beyond meat or a trophy to hang on a wall. For them, a successful hunt meant food for the family, fat to render for tallow, sinew to make strong rope for wrapping and securing items, and bones to fashion into knives, scrapers, and other tools. But perhaps the most versatile item was the animal’s hide.
Hides were prepared in many ways, depending on the need at the time. Rawhide, a stiff and strong material, was fashioned for shoe bottoms, drumheads, and parfleches, a small carrying case. Hair-on hides, from furbearers like raccoons, coyote, beaver, and fox, were transformed into leather for cold weather. Hair-off hides, from deer, were a good fit for warm weather. Deer hair is hollow and brittle, breaking off easily if worn. Therefore, deer hides were usually prepared with the hair off for leather clothes and other goods.
Skinning
Once you have harvested and field dressed your deer, skin out your deer to produce a large, continuous section of hide. Using a sharp knife, extend your cut from field dressing going forward and then down the inside of the legs. Slice through the hide in a ring around each leg and the neck. Going farther up the neck will yield a larger hide, but the neck section is very thick and challenging to work with, especially for your first hide. Knife marks will lower the quality of your leather, so use your gloved hands and muscle rather than your knife to separate the hide from the meat of the deer. An old butter knife or other dull metal edge can be used to aid in this process without the risk of cutting the hide. Skinning a deer is easiest before the heat leaves the tissues. As the deer cools, any ticks present on the deer will begin looking for a warm host. Remember to check yourself for ticks after handling a fresh hide.
Fleshing
If time allows, flesh the hide immediately after removing it from the deer and before freezing or salting. To flesh the hide, place the hide flesh side up along a smooth surface with the neck end toward you and scrape downwards using a fleshing knife or other dull metal edge. Work to scrape off the meat, fat, and connective tissue in the area immediately in front of you. Move the hide as you scrape off each area to keep the portion of the hide you are working on in front of you. The hide can be frozen and stored to work with later by folding it with the fur side out, down the long axis of the backbone, and then rolled up. Next place the rolled hide in a leakproof container and place in the freezer.
For more information on scraping a hide, check out Binding Traditions on Page 22 of the November 2025 issue of the Missouri Conservationist. It’s also available online at short.mdc.mo.gov/oYB.
Bucking
When a hide is referred to as braintanned buckskin, it is not referring to the sex of the deer. It refers to a hide as having been bucked during leather processing. Bucking a hide refers to soaking the hide in a high pH solution, which degrades the epidermis that helps hold hair in the follicle. Thus, it is only used in hair-off tanning. Several materials may be used to raise the pH of the solution, but the easiest and most cost-effective material is hydrated lime. In a heavy-duty tub, add about 2 pounds of powdered lime per 6 to 10 gallons of water, then stir to combine. Add a little lime at a time until it stops dissolving and precipitates out of solution. Wear glasses and gloves when working with lime powder and avoid inhaling the dust. After three to seven days of soaking in cold water, check to see if the hair slips off into your gloved hand with a gentle tug. If so, you are ready to proceed to removing the hair, the epidermis, and the grain layer beneath the epidermis. Because deer hair is hollow, the hide will try to float. Keep your hide submerged by placing rocks, bricks, or water jugs on top of it.
Bucking will cause the hide to swell and break down the outer layers of the hide (epidermis and grain layer). Scrape off the hair and the outer layers with a scraper on a smooth surface as before. Inspect the hide carefully for remaining hair, fat, meat, or epidermis and remove them before proceeding. The next step is to remove the lime from the hide and get the pH back down to neutral. Deliming is best done by rinsing the hide thoroughly, then placing the hide in a bucket, and running a small trickle of water over the hide for 12 to 24 hours. Alternatively, the hide can be soaked in a tub of cool water with water changes every two to six hours across two days. The hide is done when it no longer looks swollen or feels rubbery.
It will be a lot smaller with the fur and fat removed and will likely fit in a heavy-duty gallon-size zip-top bag. You can freeze the hide now or proceed to the next step, braining the hide.
Braining
Braining a hide refers to coating the fibers of the remaining layer of the skin (the dermis) with fats emulsified (dissolved) in water. Historically, the brain of the harvested animal was used because it contained both fats and lecithin. Lecithin also is found in egg yolks, soybeans, and other plants. There are as many braining recipes as there are tanners. I use dry soy lecithin granules because it is inexpensive and easy to work with. Granules dissolve slowly in water, so begin dissolving them the day before. Use approximately 6 tablespoons of granules per gallon of water. The next day, warm the lecithin and water solution to a simmer and add ½ cup of olive oil or vegetable shortening. If using shortening, warm mixture until dissolved. Allow solution to cool until it is comfortable against your hand; hot solution will burn the animal hide the same way it can your skin.
Prepare your hide to soak in the braining solution by wringing the water from the hide. One way to do this is to form a doughnut shape out of the hide by making a very loose circle around an object lengthwise, then rolling up from one side to the other to form a ring. Place a bucket underneath the hide to catch drippings, if indoors.
Slide a strong limb or pole in and twist firmly. Twist in opposite direction. Make a quarter turn. Repeat four times until hide is wrung out, tucking any loose ends as you twist. Unwind and stretch hide out in all directions. Squeeze out any drippy bits. An old towel can be used to remove squeezed out moisture. Give the hide a good stretch in all directions and then place it in a bucket with 1 quart to 1 gallon of tanning solution. Let the hide sit in bucket, turning often for 30 minutes to one hour or until it appears saturated with solution. Stretching the hide while it is soaking will help get the mixture into the hide.
Breaking
Wring out your hide again using the donut method, then stretch it. You are now ready to break your hide until it is completely dry to the touch. If the hide feels cool to the touch, it is still wet. It will take several hours for the hide to dry completely. Stopping before the hide is fully dry will result in a stiff hide. If you must pause, then place the hide in a plastic zip-top bag with some braining solution and freeze it until you are ready to proceed. If you are not satisfied with the softness of your hide, resoak it, and repeat the process once your muscles have rested.
Breaking a hide can be done with friends or alone using a frame or by hand. To break a hide on a frame, poke holes along the edge of the hide and use string to attach it to a sturdy wooden frame. Stretch hide with a flattened, dull wooden or metal paddle every few minutes until dry. You will need to tighten the string partway through. If breaking by hand, pull the hide firmly down over knees and in all directions using your thigh muscles. Alternatively, gather three or five friends to pull the hide with you and have pairs across from one another pull the hide a few rounds and then turn the hide and keep going. You can break the hide over a cable or other surface with the flesh side of the hide toward the cable and the hair side facing out. Do this until hide is dry.
Hides can be gently smoked over punky wood to preserve softness after wetting, but that is an art unto itself.
Preparing leather from a deer hide can be done in many ways. Try this approach as a starting point to practice this hunting heritage craft and then explore other methods to fine tune your technique.


Also In This Issue

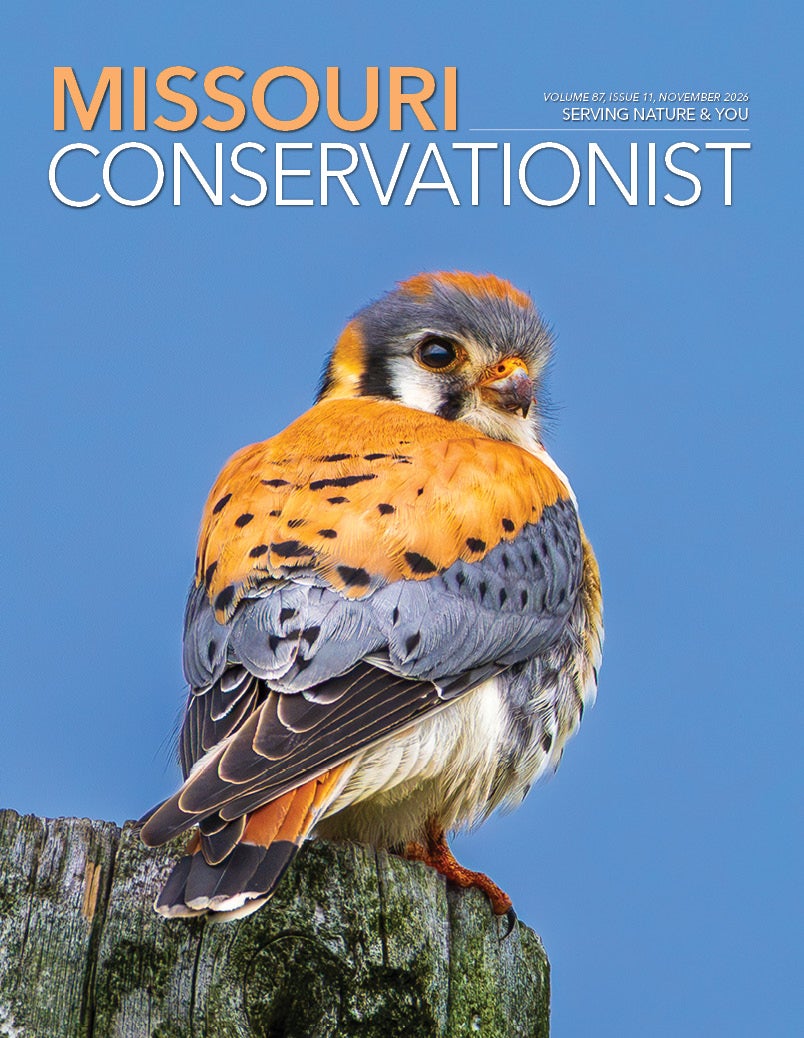
How Missourians are helping America’s smallest falcons

The brotherhood of waterfowl hunting reminds you that life and legacy go on
And More...
This Issue's Staff
Editor – Angie Daly Morfeld
Associate Editor – Larry Archer
Photography Editor – Ben Nickelson
Staff Writer – Kristie Hilgedick
Staff Writer – Joe Jerek
Staff Writer – Dianne Van Dien
Designer – Marci Porter
Designer – Kate Morrow
Photographer – Noppadol Paothong
Photographer – David Stonner
Artist – Matt Byrde
Circulation – Marcia Hale